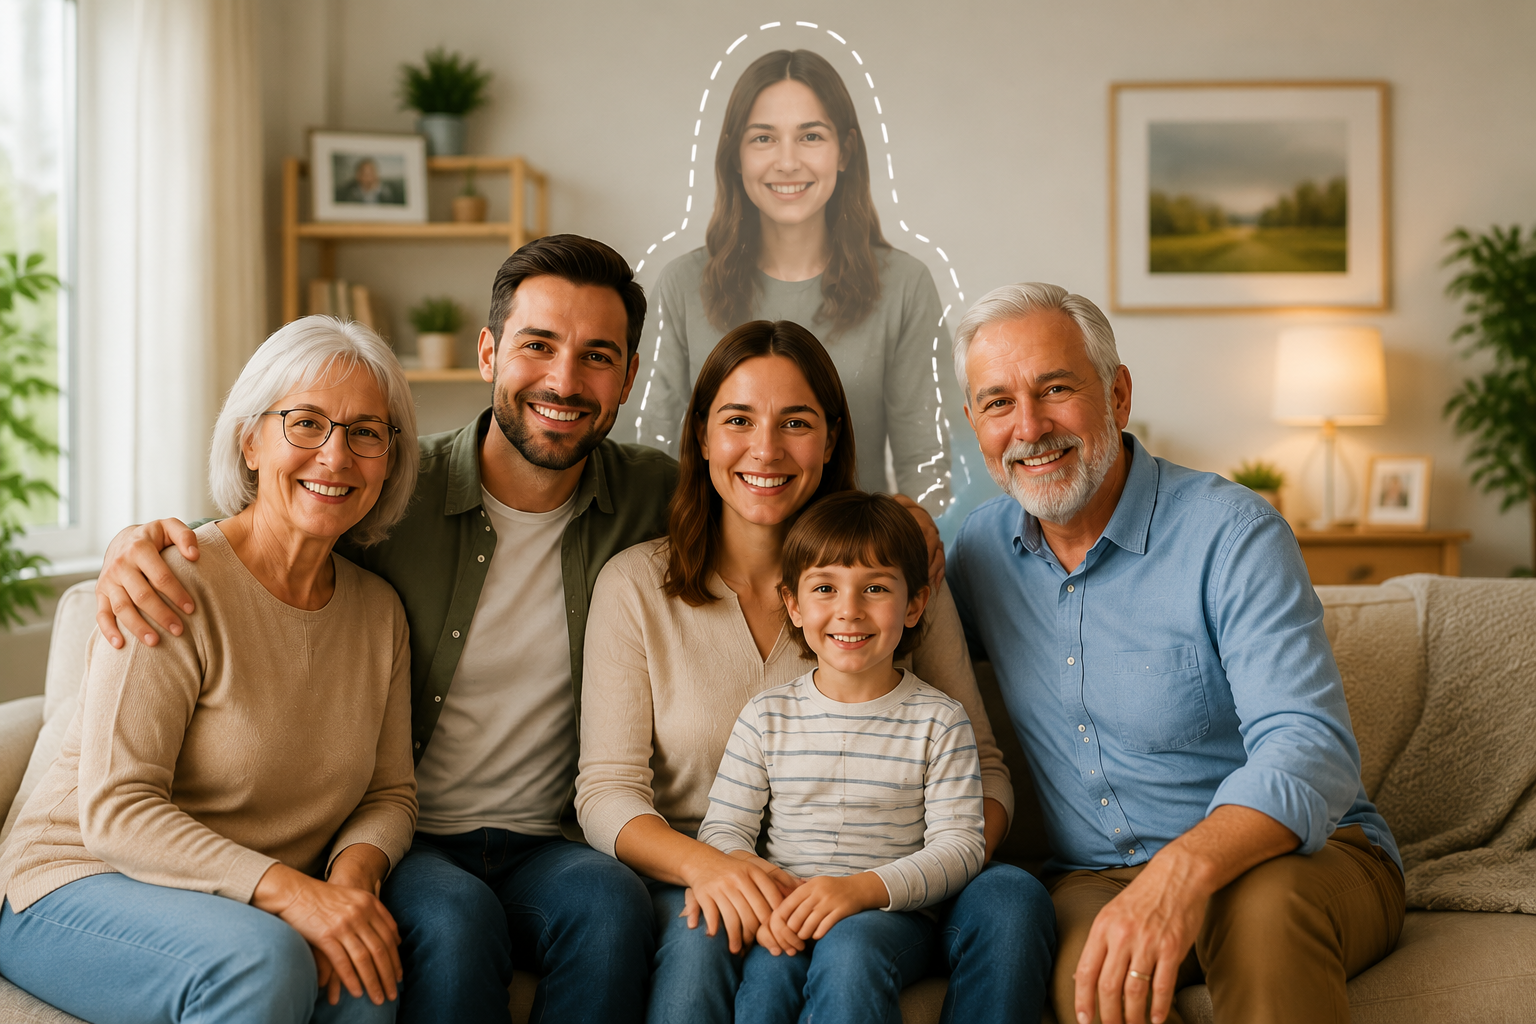
Some family photos feel incomplete. A wedding picture without a parent who could not attend. A holiday gathering after someone has passed away. A reunion photo where one person was always missing from the frame.
Adding a loved one to an existing family photo — with care and the right tools — can help create a more complete visual memory. FamPortrait's Add Loved One to Photo feature blends a reference portrait into your base image while prioritizing identity and a natural look.
This guide explains how to do it respectfully and effectively.
When this kind of edit makes sense
People use memorial and reunion-style edits for many reasons:
- Including a deceased parent or grandparent in a family portrait
- Creating a “whole family together” image when someone could not be present
- Making a gift for a milestone birthday or anniversary
- Preserving a meaningful moment in a single frame
The goal is not to invent a fake event. It is to honor a real relationship in a photo that matters to your family.
What you need: two photos
You will upload two images:
- Base photo — The family photo you want to edit (the scene stays the same)
- Loved one's reference photo — A clear image of the person you want to add (face visible, good lighting)
Both matter. A strong base photo with space and consistent lighting makes blending easier. A clear reference photo helps the AI preserve facial identity.
Step 1: Choose a strong base photo
Look for:
- Enough space for another person (beside the group, in the background, or in an empty area of the frame)
- Consistent lighting — outdoor shade, indoor window light, or even flash across faces
- Minimal blur — sharp faces in the original help the final result
- A meaningful scene — the moment you actually want to preserve
Avoid heavily filtered images, extreme wide-angle distortion, or photos where every inch of the frame is already crowded.
Step 2: Choose a respectful reference photo
The loved one's photo should show:
- Face clearly visible — front or slight angle, not profile-only
- Similar lighting tone to the base photo when possible (warm indoor with warm indoor, etc.)
- No sunglasses, masks, or heavy filters
- Reasonable resolution — not a tiny cropped face from a group shot
One good portrait or selfie often works better than a busy group photo where the face is small.
Step 3: Place them in the scene
FamPortrait lets you choose a starting position and fine-tune placement:
| Position | Best for |
|---|---|
| Left / right side | Standing beside family members, reunion-style |
| Center | When they are the emotional focus of the image |
| Background | A softer memorial presence in the scene |
You can drag to adjust after choosing a position. Small changes to scale and placement often make the difference between “obviously edited” and “believably together.”
Step 4: Choose appearance style
Two common options:
Spirit / transparent — A softer memorial presence, gently blended into the scene. Often used when you want a symbolic “still with us” feeling without looking like a casual snapshot.
Fully visible — The loved one appears as a fully present person in the photo. Often used for reunion-style images or gifts where you want a clear, natural group portrait.
Choose the style that matches how you want the image to feel — not what looks most dramatic.
Step 5: Review before you finalize
Before saving or sharing, check:
- Face size — Is the person proportional to others in the frame?
- Lighting direction — Do shadows fall the same way as on other faces?
- Edge blending — Are there harsh cutout lines around hair or shoulders?
- Emotional tone — Does the image feel respectful to your family?
It is okay to regenerate or adjust placement if the first result is not right. Subtle edits often work better than forcing a perfect match on the first try.
Tips for a natural-looking result
- Match indoor vs. outdoor lighting between base and reference photos
- Prefer reference photos from a similar era when possible (clothing and photo quality align better)
- Leave breathing room in the base photo — do not cram the new person into a tiny gap
- Share a draft with one trusted family member before printing large copies
Privacy and sensitivity
These photos are deeply personal. FamPortrait processes uploads securely; read our Privacy Policy before uploading. Only share finished images with people who will appreciate them, and be mindful that not every family member may want the same kind of memorial edit.
Final thoughts
Adding a loved one to a family photo is a creative and emotional choice. With a clear base photo, a strong reference image, thoughtful placement, and an appearance style that fits your intent, AI tools can help you create something meaningful — a single image that says, “We are still a family.”
Start on Add Loved One to Photo when you are ready.
Frequently asked questions
What photos work best when adding a loved one to a family photo?
Use a clear base family photo and a reference image where the loved one's face is visible, well lit, and not heavily filtered.
Can the result look natural instead of obviously edited?
Yes. Choosing similar lighting, realistic placement, and a subtle appearance style helps the final image feel more natural.
What is the difference between spirit and fully visible appearance?
Spirit or transparent style creates a softer memorial presence blended into the scene. Fully visible style places the loved one as a clearly present person in the photo.
Related articles
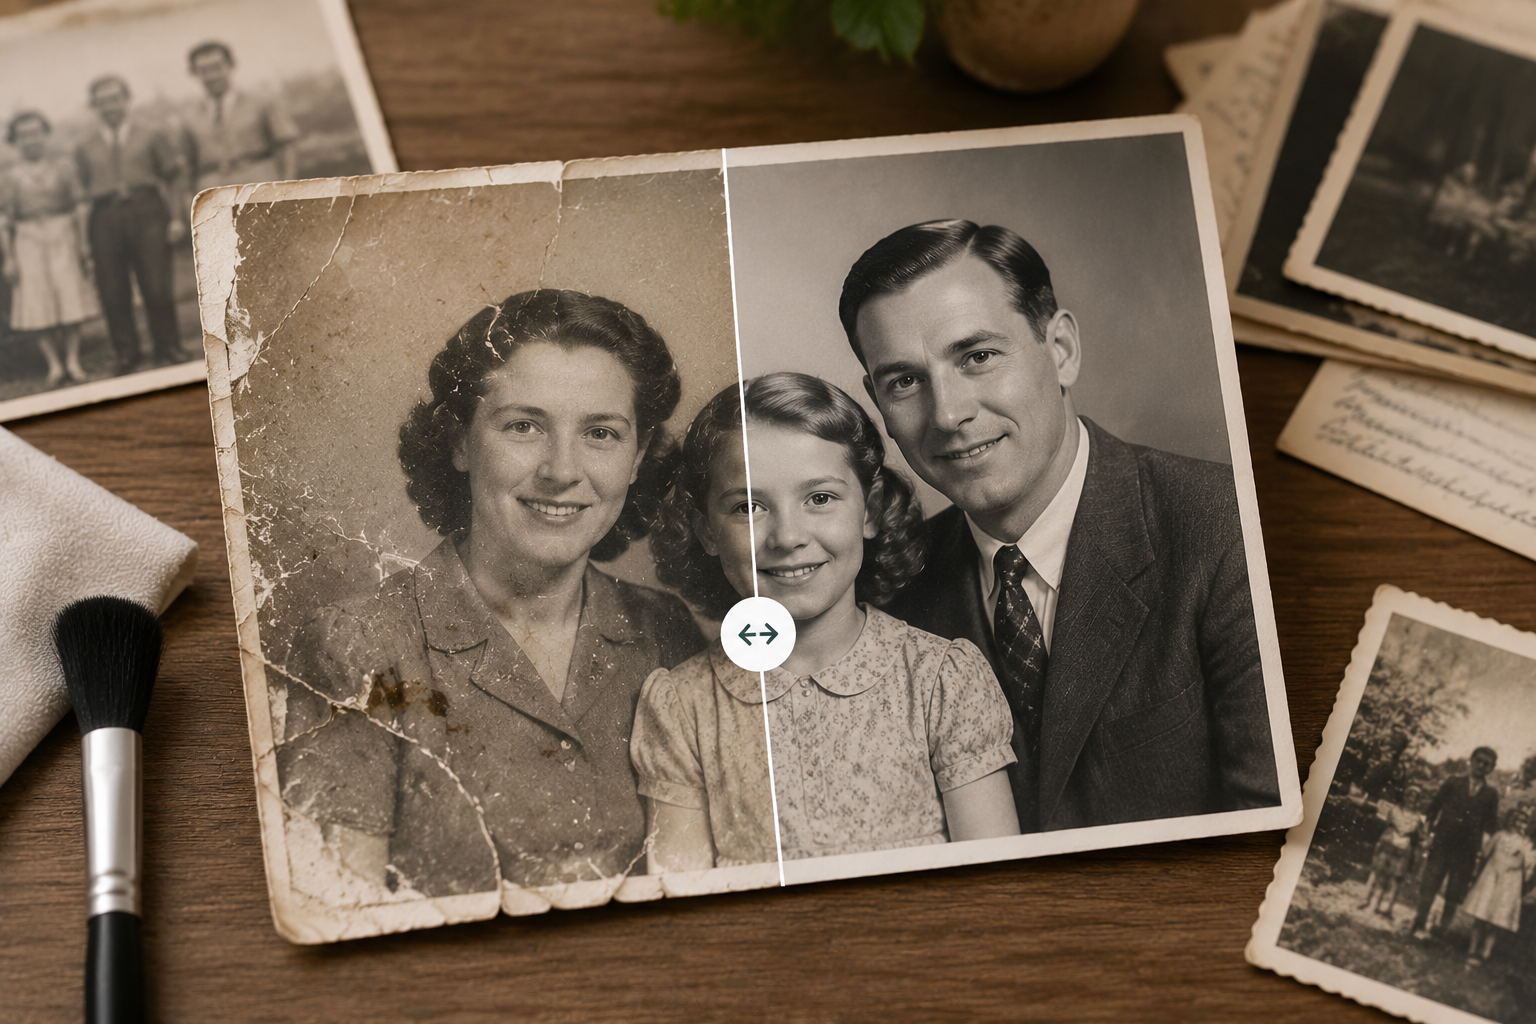
How to Restore Old Family Photos Online
Learn how to restore old family photos online with AI, including faded color repair, scratch removal, and black-and-white colorization.
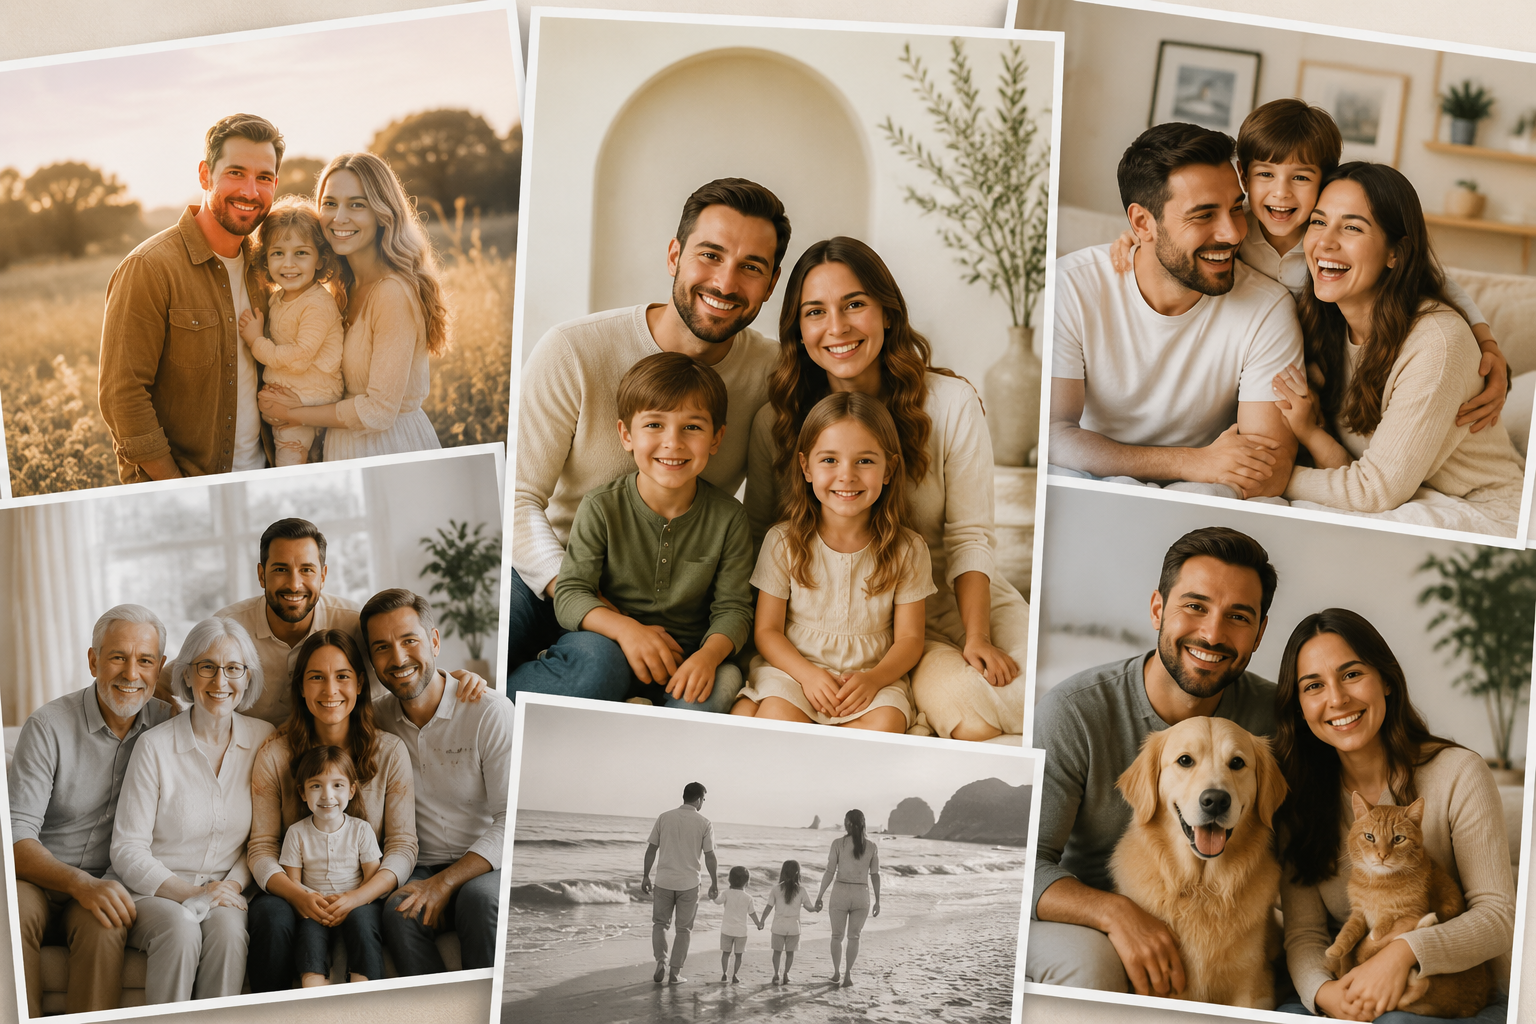
AI Family Portrait Ideas for Modern Families
Discover creative AI family portrait ideas for busy modern families, from casual selfie-based portraits to meaningful gifts and wall art.